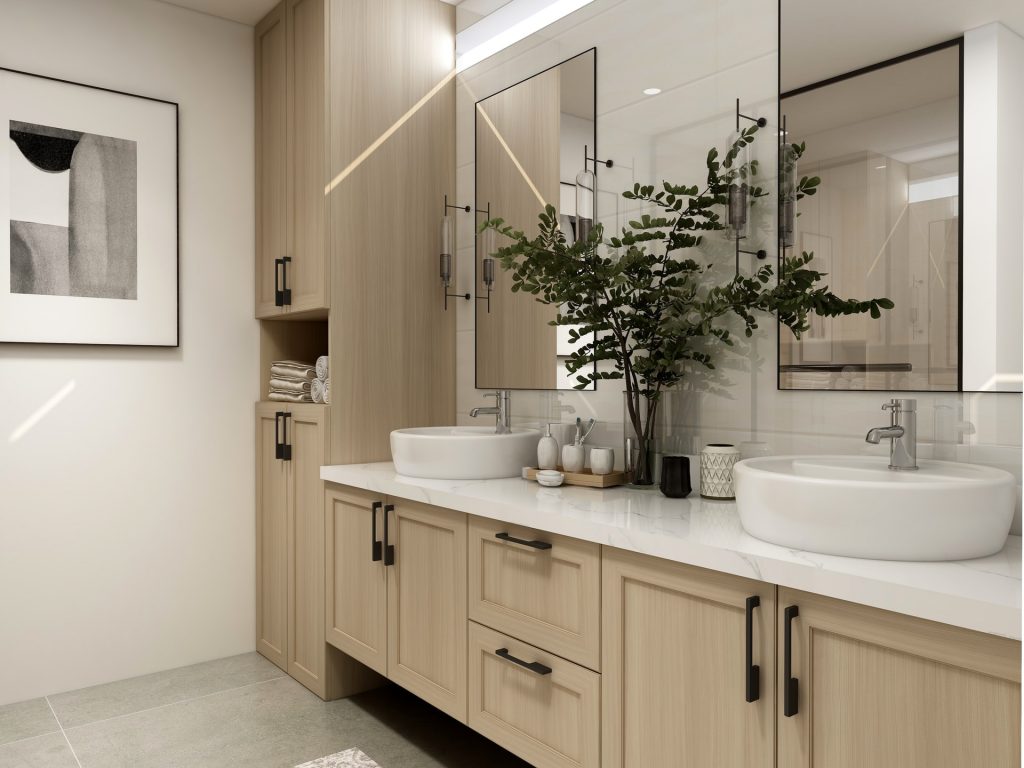
In our last two installments of our mirror series, we talked about installing clipped mirrors and frameless mirrors. Today, we want to cover framed mirrors. While many elements are the same between these different mirror types and their installations, there’s enough difference to each that we feel we should pay them due attention. Let’s check out how you can add a customized frame to a frameless mirror.
Acquire Your Mirror
The first thing you need to do is get yourself a frameless mirror. We need a blank canvas for our new, customized frame to, well, frame! Keystone Home Products has mirrors of all sizes available in Toronto. Let us know you’re in the market, and we’ll let you know how we can help.
Ready Your Frame
When you have your frameless mirror handy, it’s time to begin framing it. There are many ways to acquire a frame for your mirror.
- Make One From Scratch
If you’re a woodworker and want the most personalized frame available, you’ll certainly want to try your hand at making one. This is a simple project. After getting your mirror dimensions, all that’s left is using a router bit to shape the edges of a long strip of wood, then cutting and connecting them into a frame. - Buy One
There are lots of frames available from hardware stores, crafting stores, and more. Buying them ready-made is great for anyone who wants to customize their frame from a blank. - Recycle One
If you want a frame that’s already made, painted, and ready to go, recycling one from a large picture frame is a great idea. Simply go to your local thrift store and find a large piece of art in a frame. These are very easy to find and are usually only a few dollars.
Attaching Your Mirror
There are two ways to add a customized frame to your mirror, depending on your preference.
Metal Clips
The first method involves using metal clips. These can look similarly to the clips used to fasten frameless mirrors to the wall, but are smaller and flatter. You can also use the kind of clips used to fasten the back on a picture frame. Just ensure you have enough clips to hold the mirror in – you don’t want it falling out.
Adhesive
If you’re more in the mood for a quick project and you aren’t committed to using the frame somewhere else later, adhesive works well. Buy a tube of adhesive, like the kind available from Liquid Nails, and apply it along the inside of the frame where the mirror will rest. Note that you should not apply this too liberally. Any excess adhesive will squeeze out from behind the frame and end up visible along the front edges of your mirror.
Hanging Your Framed Mirror
Finally, you can hang up your mirror. With your mirror sitting in a frame, hanging it is much easier. You can screw a toothed hanger on the back, like you find on some picture frames. Two are recommended for larger mirrors.
Or, you can put some screws into opposite sides of the back of the frame and string a wire between them. This will allow the framed mirror to hang from a nail or screw in your wall. Though, keep in mind that this method may have your mirror tilted slightly forward from the wall. This can vary based on where you screw into the frame and how long your wire is.

